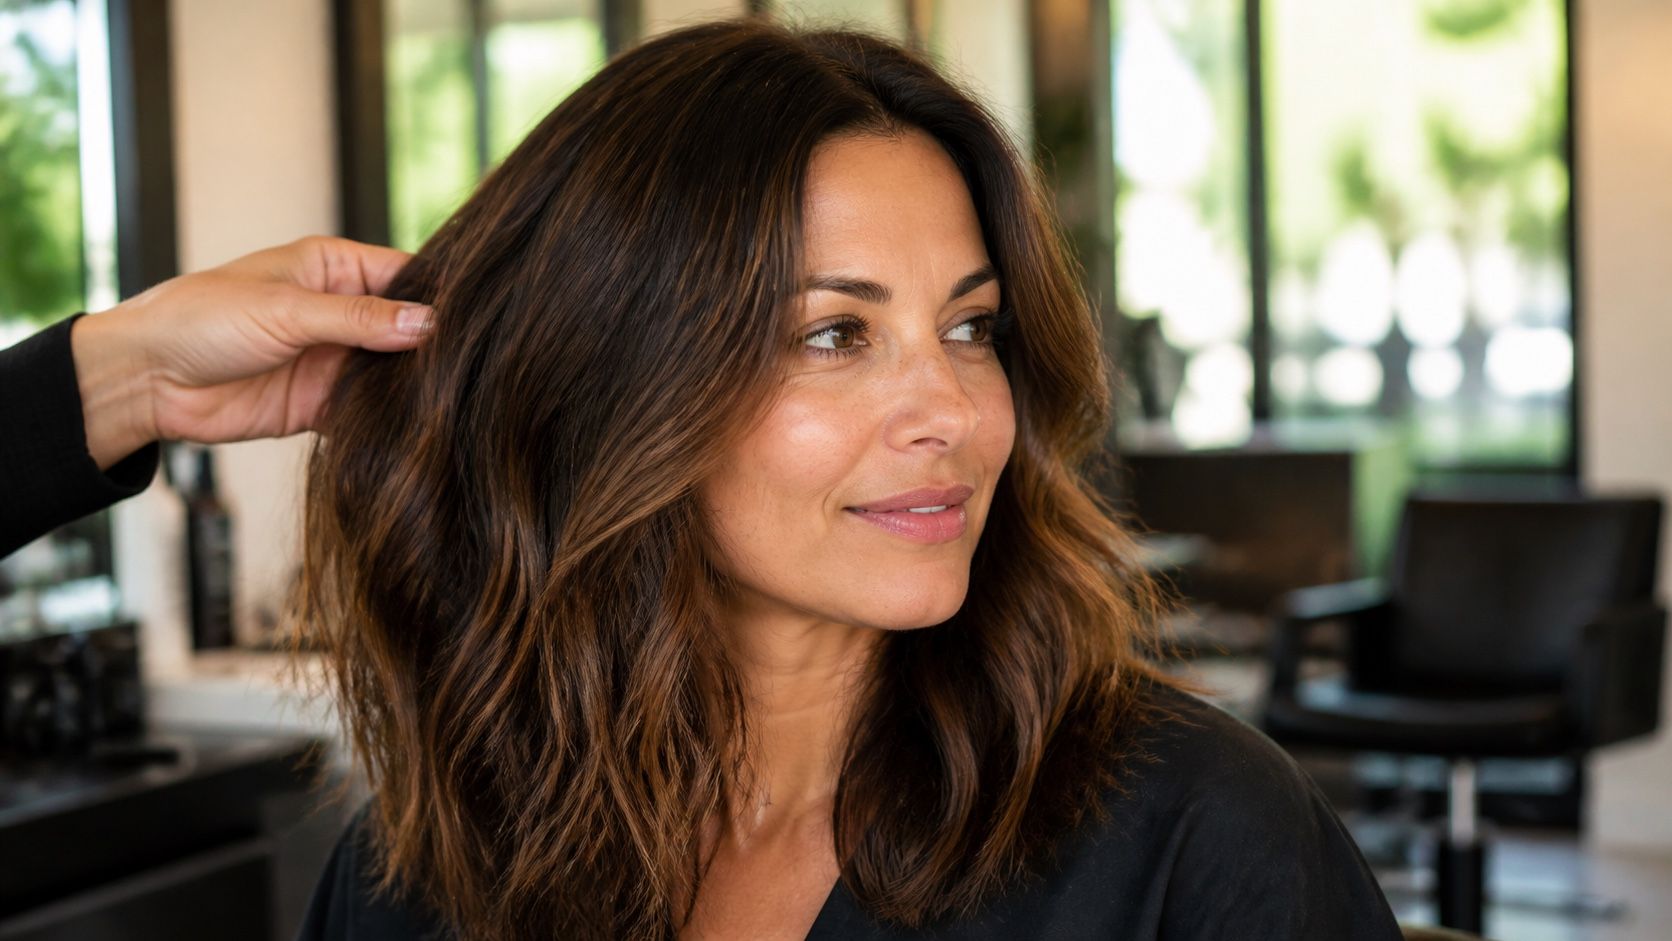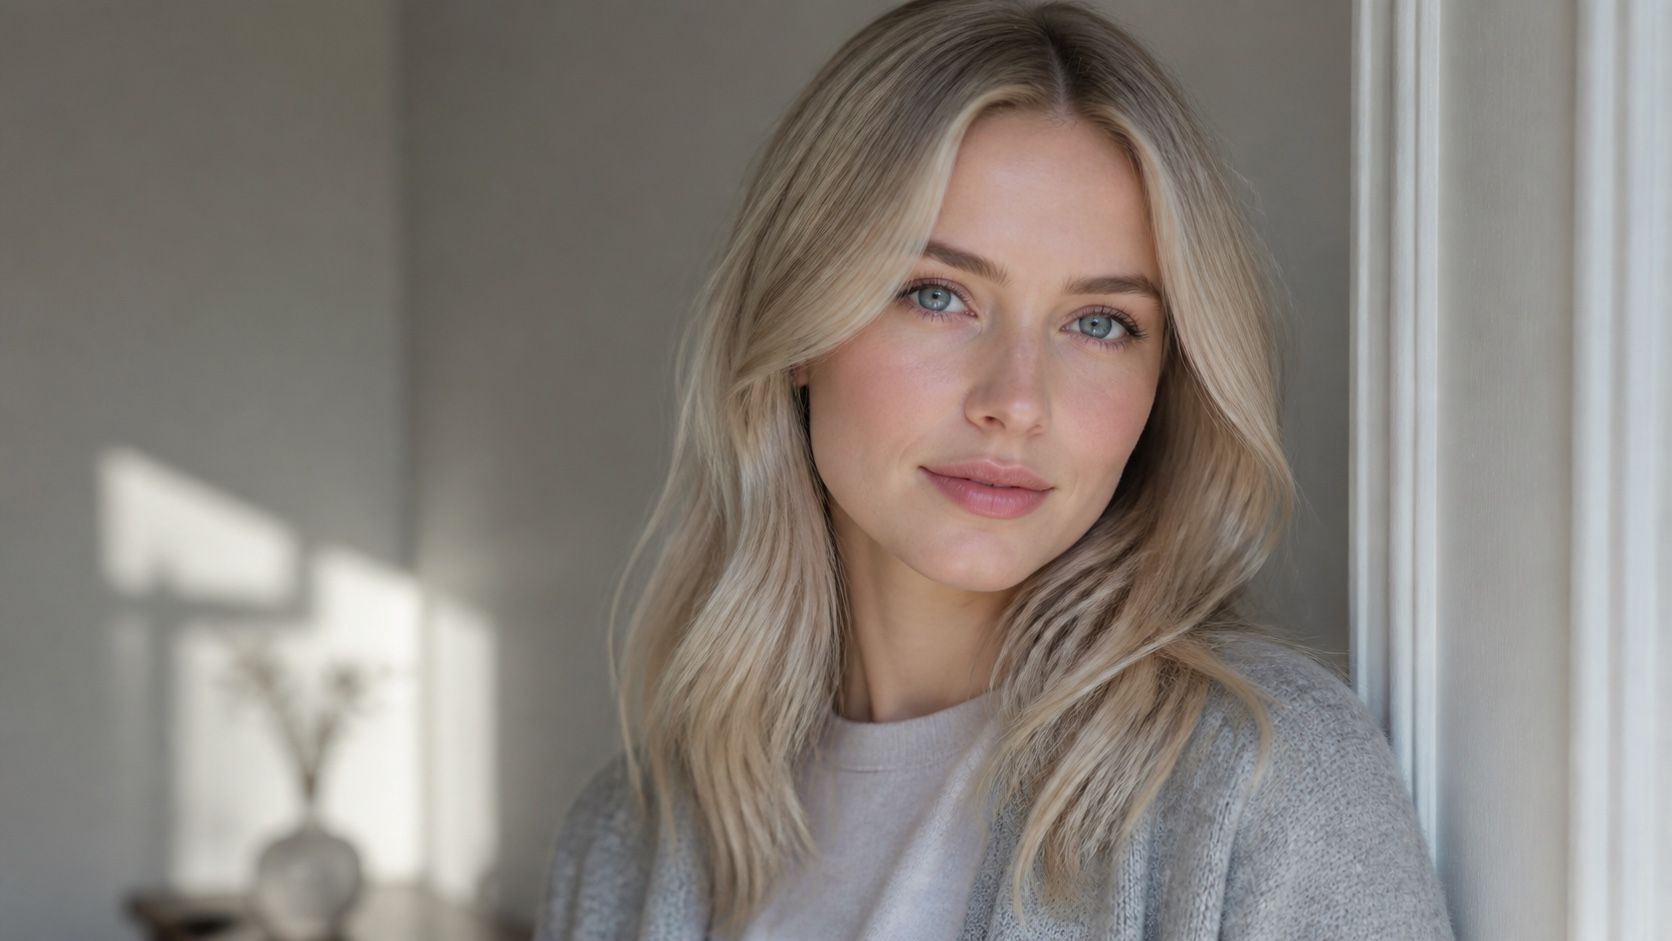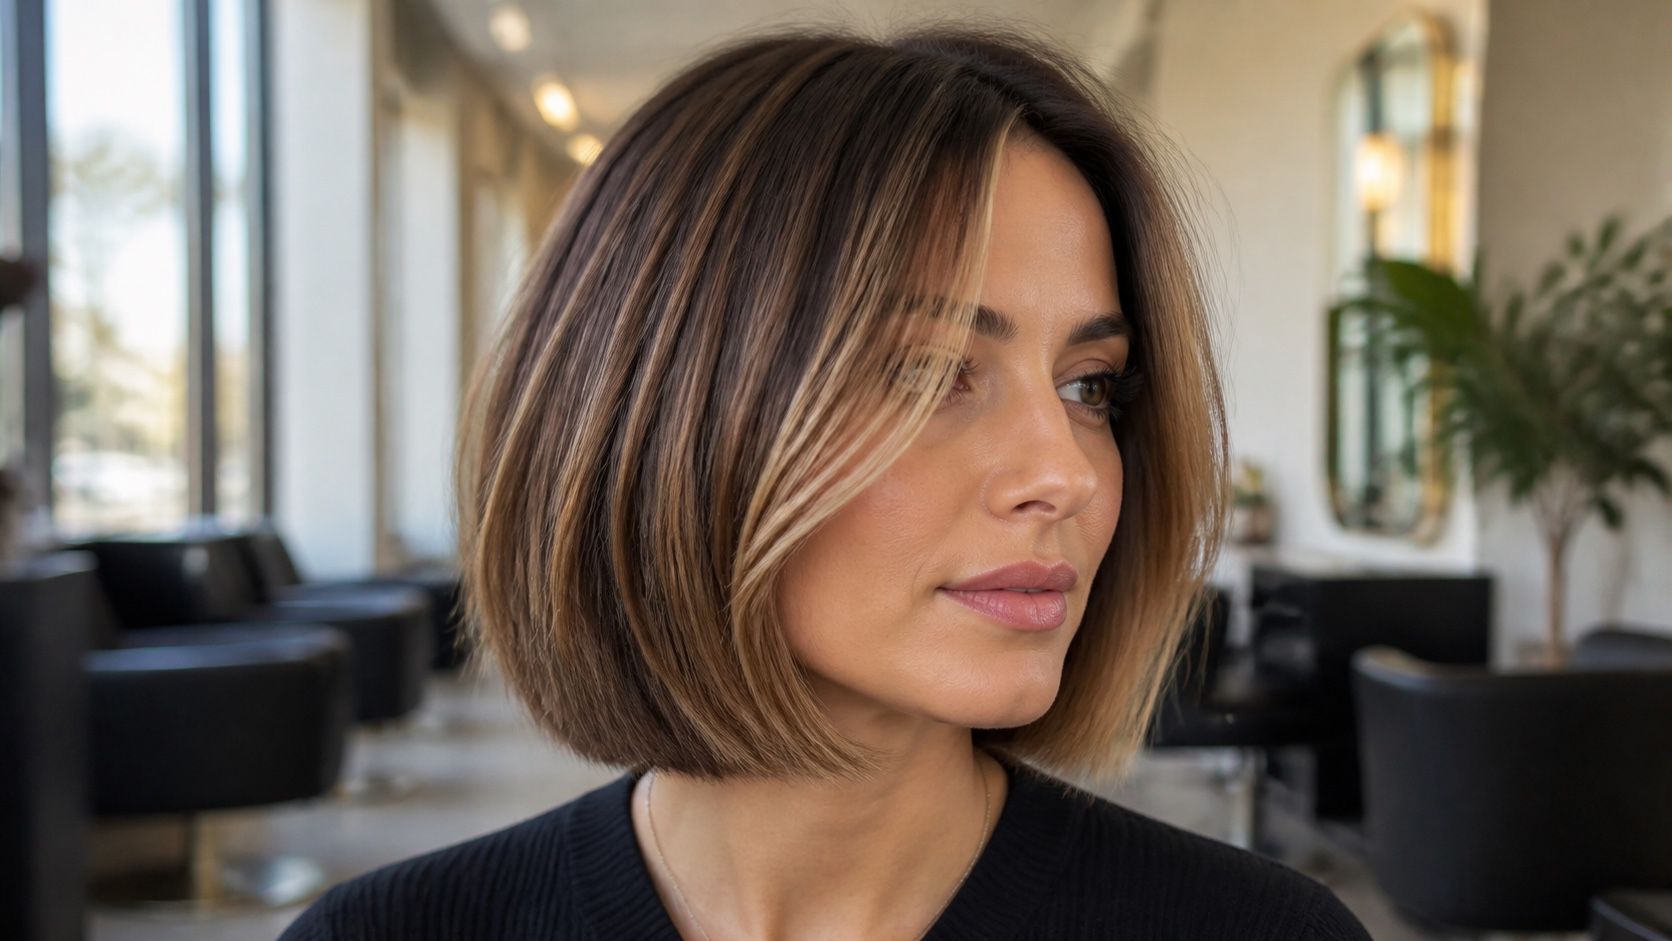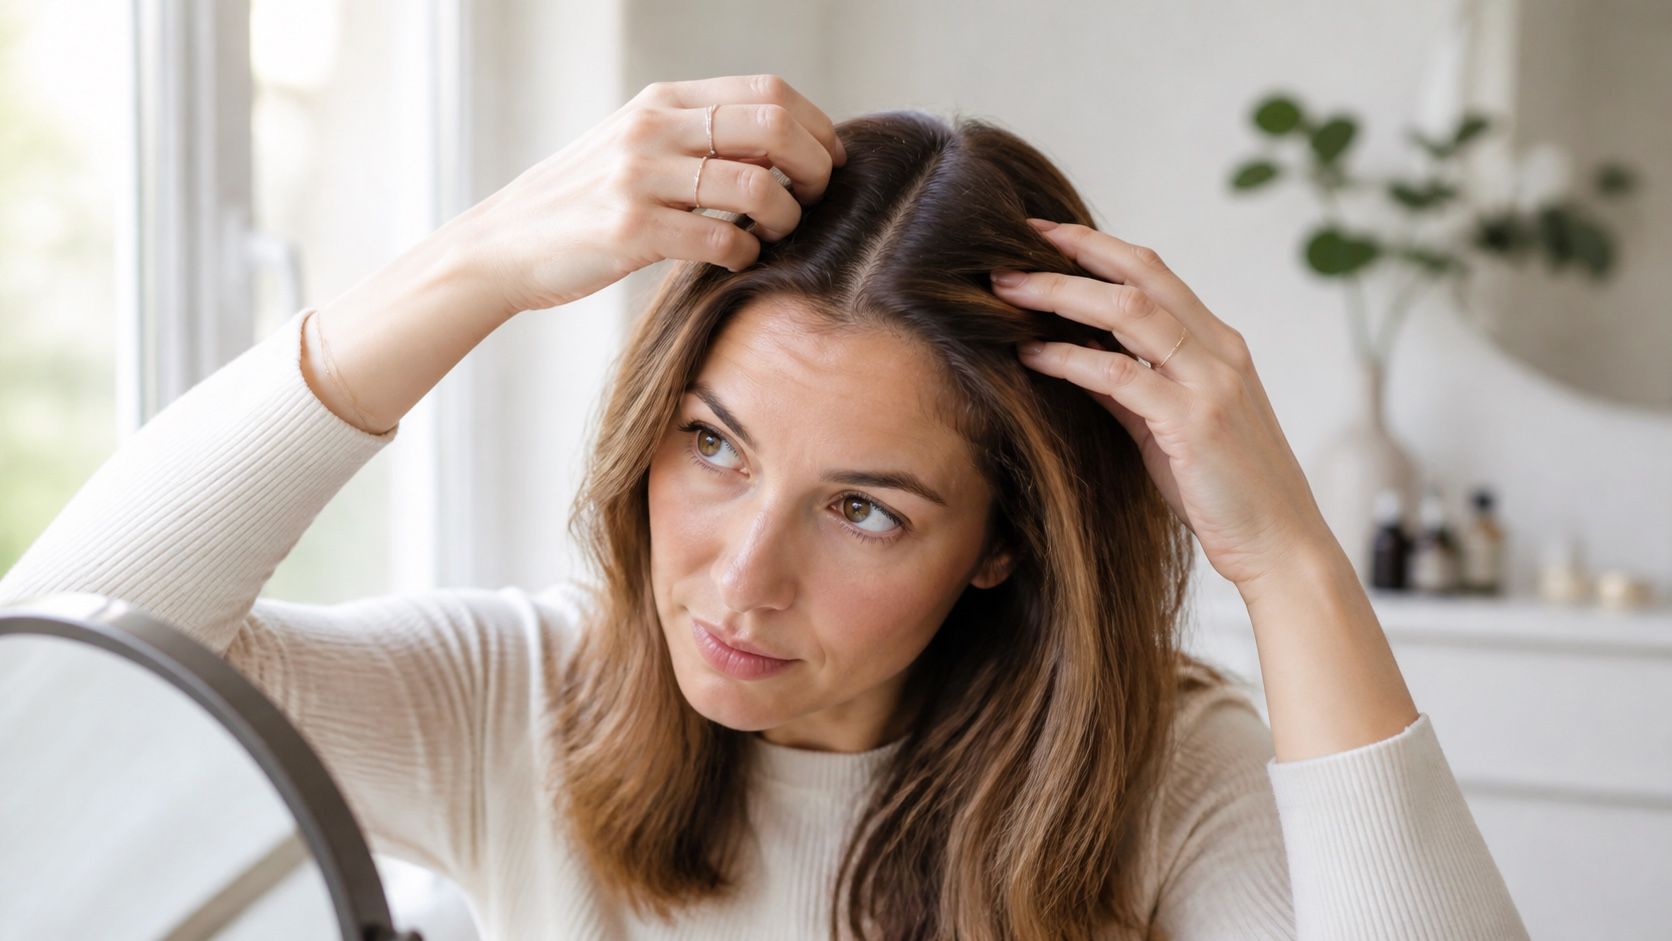
A free hair color analysis can be useful, but only if you treat the photo as evidence rather than a verdict. The camera can hint at depth, warmth, contrast, and where your roots sit against your skin; it cannot see every old dye stain sitting inside the hair.
Start with the photo before you trust the shade
The biggest mistake is sending the prettiest selfie. Bathroom bulbs, ring lights, car windows, and phone filters all change the answer. Warm indoor light can make neutral brown look coppery. A cool grey day can flatten golden blonde until it seems ashier than it is. If the tool says you need a cool brunette from a photo taken under yellow lights, I would pause before believing it.
Old colour is where the answer gets messy
Hair history is the part a photo usually hides. Bleached hair can look pale and simple on camera while still being porous, fragile, and uneven underneath. Old red dye may sit quietly in the mid-lengths until a colourist tries to cool it down. A dark permanent dye can make the hair look like a clean brunette in a photo, even though lifting it will expose orange bands.
This is why a free hair color analysis can name a flattering direction and still be wrong about the route. The screen may say soft ash brown. Your hair may say three appointments, bond care, and a careful plan for the ends. Those are different answers. One is visual. The other is chemical and practical.
Look at the hair in zones before accepting any recommendation: roots, mid-lengths, ends, and the pieces around the face. If the roots are cool brown, the middle is old copper, and the ends are pale beige, one shade label will not describe the whole head. The more history you see, the more cautious the result should be.
Check the suggestion against your roots
Natural roots are the most honest part of the photo. They show depth, contrast, and often a better clue to your undertone than the dyed ends. If the analysis suggests a shade that sits close to your root depth, the idea is usually easier to test. A brunette gloss over brunette hair, a richer dark blonde over grown-out dark blonde, or a softer face frame can be checked without changing the entire head at once.
If the suggestion fights the roots, slow down. Very pale blonde against deep natural roots means maintenance. A cool ash result on naturally warm, previously dyed hair may need correction before it looks clean. A bright copper over very dark hair may require lift, and lift changes condition. The photo may make the result look instant because it skips the awkward middle.
There is also a style question. A shade that looks good in a front-facing photo may behave differently once the hair moves. Long layers expose faded ends. A bob shows every band. Curly hair breaks color into separate ribbons, which can make a dramatic shade look softer or busier depending on the cut. The roots help, but they are not the whole room.
Use the result as a small test, not a promise
The safest use of a free analysis is to turn a vague wish into a smaller test. If it points toward warmth, try a warm gloss or warmer makeup around the face before booking a major lightening service. If it points toward cooler hair, compare the idea against your current clothes in daylight. Hold a grey sweater and a cream sweater near your face. Notice which one makes the current color look calmer.
A temporary try-on can help too, as long as you remember that digital hair sits on top of the photo. It does not show translucency, porosity, or the way color grabs on bleached ends. I like using previews for the first reaction: does the direction make the face look sharper, softer, older, tired, brighter? That quick reaction is useful. The exact shade name is less useful.
If you are choosing between two close options, keep the change nearest to your current depth. Moving one or two levels is more forgiving than jumping across the whole chart. The less correction your hair needs, the more likely the final result will look like the preview instead of a compromise negotiated in the salon chair.
When to take the preview to a colourist
Bring the preview to a colourist when the idea involves bleach, old box dye, major cooling, or a big contrast change. Do not bring it as proof. Bring it as a direction. A good consultation will ask what is on your hair now, how often you heat-style, how much grow-out you can tolerate, and whether you are willing to lose some length if the ends are tired.
The most useful sentence is simple: "This is the direction I liked, but I want to know what is realistic on my hair." That leaves room for the professional part of the decision. Maybe the answer is a shadow root and softer ends. Maybe it is a gloss first, then highlights later. Maybe the flattering shade in the photo is right for your face but wrong for your current condition.
Free analysis is at its best when it keeps you from wandering into a salon with only a mood board and hope. It can show what a photo can show: contrast, rough shade direction, and obvious clashes. It cannot read every layer of colour history. Treat it as a starting note, then let daylight, roots, and hair condition have the final word.
It is worth taking a second photo after the first result, especially when the suggested shade feels surprising. Use the same window, the same distance, and the same natural hairstyle, then compare the roots, face-framing hair, and ends separately. If the result changes between two honest photos, treat that as useful information rather than a failure. Lighting may be revealing a warm underlayer, uneven porosity, or a difference between the skin near the cheeks and the neck. Write down the part you agree with and the part that needs checking. A free analysis can still help you choose between a cooler direction, a softer depth, or a smaller placement, while a stylist can decide how to reach it on the actual base. That division of work keeps the preview helpful and the colour decision grounded.